Summary
Cutting an acrylic sheet involves various techniques and tools to create precise shapes and sizes from this versatile material, commonly known as plexiglass. Acrylic sheets, favored for their excellent optical clarity, strength, and impact resistance, are utilized in a wide range of applications, from retail displays to medical devices. The significance of acrylic cutting lies in its ability to cater to both functional and aesthetic needs across diverse industries, making it a valuable skill for professionals and DIY enthusiasts alike.
Table of Contents
The two primary types of acrylic sheets—cast and extruded—serve distinct purposes in cutting applications. Cast acrylic offers superior clarity and thickness, while extruded acrylic is more cost-effective and widely available, albeit with limitations in color and finish options. Notable cutting methods include scoring and snapping for thinner sheets, mechanical saw cutting for thicker materials, and advanced techniques like laser and waterjet cutting that provide intricate designs with minimal thermal distortion. Understanding the properties of the acrylic being cut is crucial for selecting the appropriate cutting method and achieving desired results.
Controversies in the acrylic cutting process mainly revolve around safety and environmental concerns. Proper safety measures, such as using personal protective equipment and ensuring adequate ventilation, are critical to mitigate risks associated with cutting tools and materials. Additionally, the release of volatile organic com- pounds (VOCs) during cutting processes has raised environmental awareness and
prompted discussions about sustainable practices in the acrylic industry. By prioritizing safety and employing effective cutting techniques, individuals can achieve high-quality results while minimizing health risks associated with acrylic fabrication.
Materials and Tools
Acrylic sheets, often referred to as plexiglass, are versatile materials widely used across various industries due to their excellent optical clarity, strength, and impact resistance. When it comes to cutting acrylic, the selection of appropriate materials and tools is crucial to achieve clean and precise results.
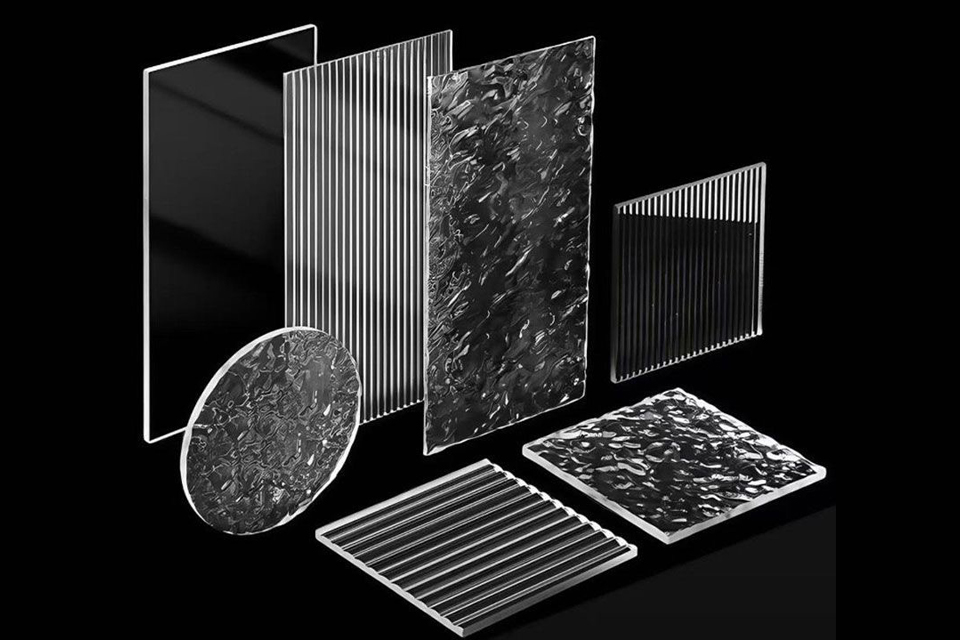
Types of Acrylic Sheets
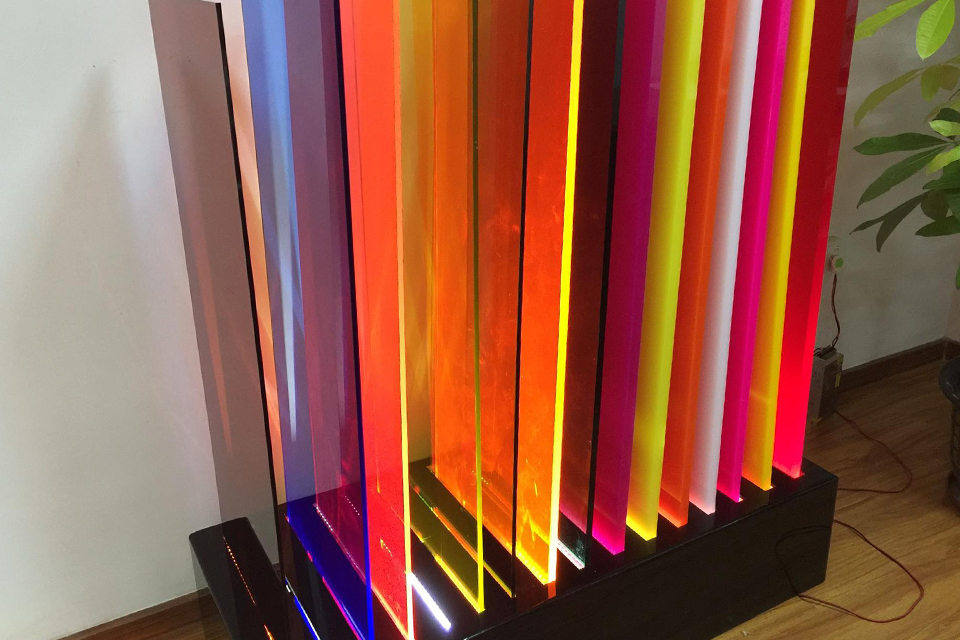
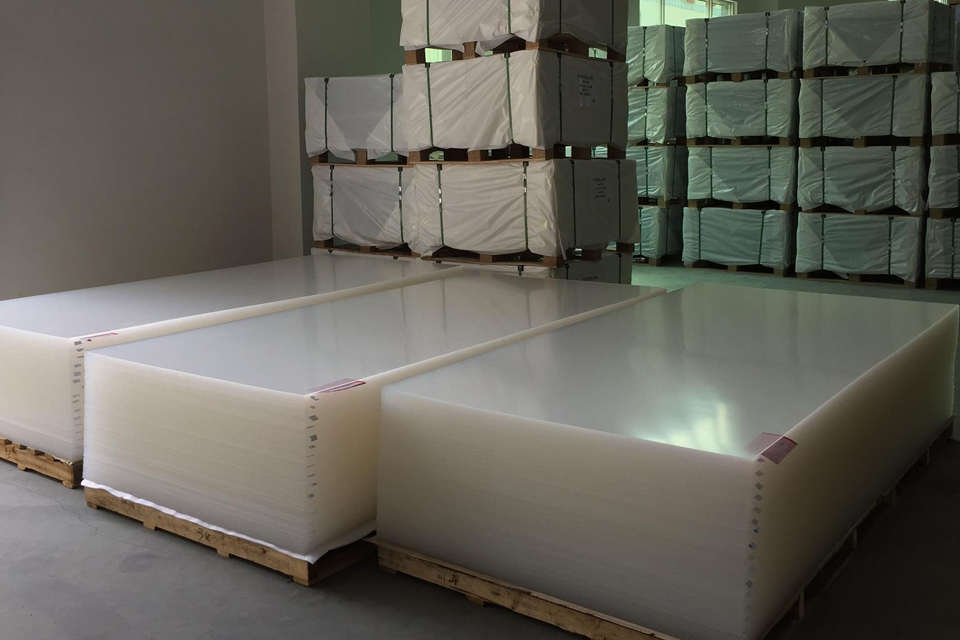
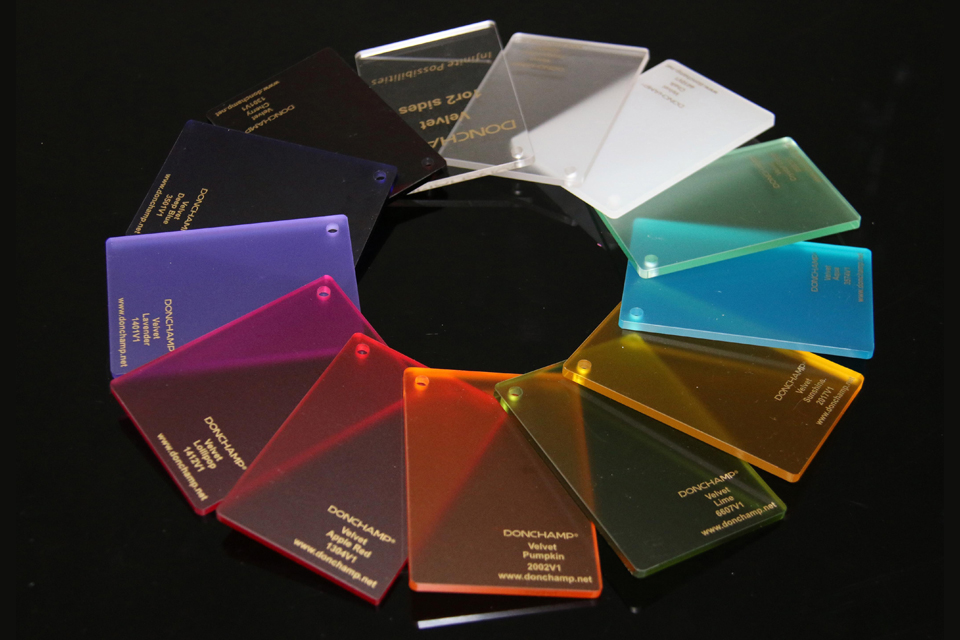
Acrylic sheets are primarily categorized into two types: cast acrylic and extruded acrylic. Cast acrylic is created by pouring a liquid acrylic mixture into a mold, resulting in thicker and more optically clear sheets. In contrast, extruded acrylic is produced by forcing acrylic resin through a die, offering a more cost-effective solution for larger projects but typically lacking the extensive range of colors and finishes found in cast acrylic. Specialty acrylics are also available, each providing unique properties suited to specific applications.
Tools for Cutting Acrylic
When cutting acrylic, it is essential to use the right tools, which can be classified into manual and power tools.
Manual Tools
Utility Knife: Ideal for scoring thinner acrylic sheets, the utility knife can create a deep score line that allows for a clean snap along the line. Acrylic Cutters: Specifically designed for thicker sheets, these cutters have sharp, hardened blades to minimize chipping while cutting.
Power Tools
Jigsaw: Suitable for both straight and curved cuts, it requires a fine-tooth blade designed for plastic to reduce chipping. Circular Saw: This tool is best for making straight cuts on thicker sheets. Using an acrylic blade or a metal-cutting fine-finish blade with carbide tips is recommended. Laser Cutter: Offers unmatched precision for intricate designs, producing smooth edges without the need for post-processing. Regardless of the tool chosen, safety precautions are vital. It is recommended to wear safety goggles to protect against flying debris, gloves to guard against sharp edges, and a dust mask to avoid inhaling acrylic particles generated during cutting. Additionally, ensuring a well-organized and clutter-free workspace enhances safety and efficiency during the cutting process.
Preparation
Before cutting an acrylic sheet, proper preparation of the workspace and materials is essential for ensuring both safety and quality of the finished product. This section outlines the key steps involved in preparing to cut acrylic effectively.
Workspace Setup
Setting up a suitable workspace is the first step in the preparation process. An appropriate area should be clean, flat, and covered with a protective mat to prevent scratches on both the acrylic sheet and the work surface. It is advisable to designate a specific cutting area to minimize accidents and keep tools organized. Adequate lighting is crucial, as good visibility helps in accurately marking and cutting the acrylic, reducing the chances of errors.
Safety Precautions
When cutting acrylic sheets, it is essential to adhere to specific safety precautions to ensure both personal safety and compliance with relevant regulations. The process of cutting acrylic can involve various hazards, including inhalation difficulties, eye injuries, and skin irritations, particularly when using tools like lasers.
Personal Protective Equipment (PPE)
The use of appropriate PPE is crucial in mitigating risks associated with acrylic cutting. Safety Glasses: Protects the eyes from flying debris and bright lights emitted from cutting tools. Gloves: Prevents cuts and abrasions during handling and cutting processes. Respirators: High-quality respirators are essential for capturing particulate matter and volatile organic compounds (VOCs) released during cutting, particularly when using laser equipment.
Engineering Controls
In addition to personal protective measures, implementing engineering controls can greatly enhance safety: Ventilation Systems: Adequate ventilation is necessary to reduce the accumulation of harmful fumes and dust in the workspace. Laser-Proof Covers: Utilize interlocked, laser-proof covers for laser cutting equipment to prevent accidental exposure to laser radiation.
Best Practices for Laser Cutting
When engaging in laser cutting of acrylic, follow these best practices to minimize hazards: Never Operate Unattended: Always supervise laser cutting operations to ensure immediate response to any accidents. Keep Work Area Clean: A tidy workspace reduces the risk of accidents and improves overall safety. Plan Cut Paths: Optimizing the cut path can minimize the time and energy used, which in turn decreases material evaporation and odor production.
Awareness of Chemical Hazards
Be mindful of the chemical hazards associated with acrylic cutting. Long-term expo- sure to byproducts like formaldehyde can lead to serious health issues, including respiratory diseases and cancer risks. Employers must ensure compliance with regulations set by organizations such as OSHA and NIOSH to maintain a safe working environment for all workers engaged in acrylic cutting.
Material Preparation
Prior to cutting, the acrylic sheet should be cleaned to remove any dust or debris that may interfere with the cutting accuracy. If the sheet is large or cumbersome, it can be beneficial to place a protective sheet of wood over it and clamp both layers to the workbench, leaving the cutting area exposed. Marking the desired cut line with a ruler and permanent marker ensures precision, and using painter’s tape over the cut area can help protect the surface and reduce post-cutting finishing work.
Choosing the Right Tools
Selecting the appropriate tools is crucial for successful cutting. For thinner sheets (approximately ¼ inch or less), scoring and snapping can be effective. For thicker sheets or more intricate cuts, tools such as jigsaws, rotary tools, or band saws should be used, preferably with blades designed specifically for cutting acrylic. Ensuring that the workspace is set up for the chosen method of cutting will facilitate a smoother process and better results. By following these preparation steps, individuals can create a safe and efficient environment that enhances the quality of the cuts made on acrylic sheets.
Cutting Techniques
When it comes to cutting acrylic sheets, the technique and tools employed can significantly impact the quality of the cut. Various methods are available, each with its own advantages and disadvantages.
Mechanical Cutting
Mechanical cutting includes methods such as saw cutting and scoring. For effective mechanical cutting, it is essential to use a plastic blade and to maintain a slow and steady cutting speed to prevent the material from melting or cracking. A crucial tip is to keep the acrylic sheet supported on a flat surface, ensuring that it does not hang off the edge of a table while scoring or cutting.
Scoring and Snapping
The scoring technique involves lightly scoring the surface of the acrylic with a sharp blade and then applying enough pressure to snap it along the scored line. It is important to score only through the top layer of the material, as cutting too deeply may lead to jagged breaks. Maintaining consistent pressure while scoring will yield cleaner results. Practicing on scrap pieces can help users understand the necessary pressure and depth for successful cuts.
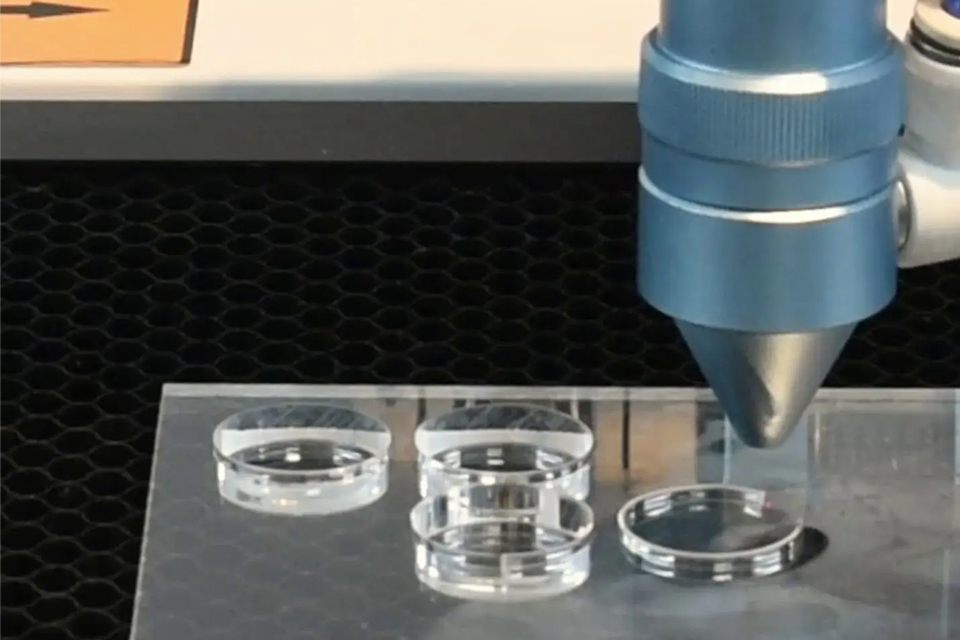
Laser Cutting
Laser cutting has become a popular choice for acrylic due to its precision and ability to create intricate designs without the risk of material deformation. This non-contact method directs a high-power laser beam onto the acrylic, melting or vaporizing the material at the cut line. The laser cutting process involves several key steps, including laser generation, beam guidance, and post-processing to ensure clean edges. Laser cutting not only provides a smooth finish, eliminating the need for extensive sanding, but it also allows for complex shapes that traditional methods may not achieve. However, it is important to use a well-calibrated laser to prevent overheating, which can damage the acrylic.
Waterjet Cutting
Waterjet cutting is another effective method, utilizing a high-pressure jet of water mixed with abrasives to cut through acrylic. This technique is advantageous as it does not generate heat, thus preventing any thermal distortion of the material. Waterjet cutting is especially useful for thicker sheets of acrylic and is known for its ability to achieve intricate cuts with a high degree of accuracy.
Additional Considerations
Regardless of the cutting method employed, it is advisable to mask the area with tape to reduce the risk of cracking during the cut. After cutting, techniques such as flame polishing can be applied to remove any marks left by the cutting process, further enhancing the appearance of the finished product. Overall, selecting the right cutting method and following best practices can help achieve high-quality acrylic cuts for various applications.
Post-Cutting Finishing
Once the acrylic sheet has been cut, it is crucial to implement finishing techniques that enhance both the visual appeal and durability of the cut edges. The exposed edges of acrylic can be rough or cloudy if not properly treated, making smoothing the edges a vital initial step. Common tools used for this purpose include fine-grit sandpaper, flame polishers, or routers equipped with trimming bits. Sanding should be done in a circular motion to gradually smooth out the rough edges, while a flame polisher can provide a more polished finish by melting the surface slightly to remove scratches or imperfections.
After achieving smooth edges, the next step is to polish the surfaces of the acrylic sheets. Polishing significantly enhances the clarity and shine of the final product. It is advisable to use a dedicated acrylic polish or a plastic polish suitable for the material. Applying a small amount of the polish onto a soft, lint-free cloth and gently buffing the surface in circular motions will help restore transparency and bring out the inherent gloss of the acrylic. In addition to sanding and polishing, it is important to consider the method of cutting used, as it can impact the finishing process. For instance, scoring and snapping can leave edges that may require more extensive finishing compared to cuts made with saws. Therefore, regardless of the cutting technique employed, taking the time to finish the edges properly will ensure a more aesthetically pleasing and durable result.
Common Applications
Acrylic sheets, known for their versatility and durability, are utilized across a wide range of industries and applications. Their clear aesthetic appeal combined with various functional advantages makes them a popular choice in multiple sectors.
Retail and Display
In the retail sector, acrylic sheets are frequently employed to create custom display cases that protect merchandise while enhancing visibility, thus drawing customer attention. Jewelry stores, for example, often use acrylic display stands to showcase fine items elegantly. Additionally, acrylic’s lightweight nature makes it an ideal material for signage and promotional displays, benefiting businesses with both functionality and aesthetic appeal.
Automotive and Aviation
Acrylic sheets are widely used in automotive and aviation applications due to their light weight and impact resistance. They serve as windows and lenses in vehicles, offering safety and clarity. This application highlights acrylic’s strength and durability in environments where both weight reduction and visibility are critical.
Construction and Architecture
In construction, acrylic sheets are increasingly being adopted for various functions, including protective barriers, windows, and skylights. They provide natural light while ensuring safety and energy efficiency, making them suitable for both indoor and outdoor settings. Moreover, architects and designers utilize acrylic in creating modern design elements, such as stair railings and decorative wall panels, which enhance aesthetic appeal without compromising structural integrity.
Medical and Dental Uses
Acrylic is also prominent in medical and dental applications. It is used in products like hip joint replacements, bone cement, and intraocular lenses, demonstrating its adaptability in healthcare solutions. The material’s biocompatibility and ease of sterilization further solidify its role in medical advancements.
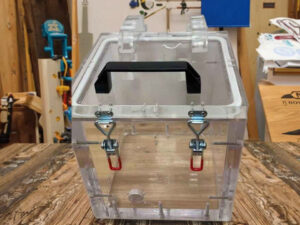
Arts and Crafts
In the arts and crafts sector, acrylic sheets are favored for their ease of cutting and shaping, allowing artists to realize their creative visions. They can be used as canvases or protective covers for artwork, showcasing the material’s versatility in creative applications. DIY enthusiasts often employ acrylic for various projects, as it can be easily manipulated to achieve intricate designs.
Safety Precautions
When cutting acrylic sheets, it is essential to adhere to specific safety precautions to ensure both personal safety and compliance with relevant regulations. The process of cutting acrylic can involve various hazards, including inhalation difficulties, eye injuries, and skin irritations, particularly when using tools like lasers.
Personal Protective Equipment (PPE)
The use of appropriate PPE is crucial in mitigating risks associated with acrylic cutting. Safety Glasses: Protects the eyes from flying debris and bright lights emitted from cutting tools. Gloves: Prevents cuts and abrasions during handling and cutting processes. Respirators: High-quality respirators are essential for capturing particulate matter and volatile organic compounds (VOCs) released during cutting, particularly when using laser equipment.
Engineering Controls
In addition to personal protective measures, implementing engineering controls can greatly enhance safety: Ventilation Systems: Adequate ventilation is necessary to reduce the accumulation of harmful fumes and dust in the workspace.
Laser-Proof Covers: Utilize interlocked, laser-proof covers for laser cutting equipment to prevent accidental exposure to laser radiation.
Best Practices for Laser Cutting
When engaging in laser cutting of acrylic, follow these best practices to minimize hazards: Never Operate Unattended: Always supervise laser cutting operations to ensure immediate response to any accidents. Keep Work Area Clean: A tidy workspace reduces the risk of accidents and improves overall safety. Plan Cut Paths: Optimizing the cut path can minimize the time and energy used, which in turn decreases material evaporation and odor production.
Awareness of Chemical Hazards
Be mindful of the chemical hazards associated with acrylic cutting. Long-term expo- sure to byproducts like formaldehyde can lead to serious health issues, including respiratory diseases and cancer risks. Employers must ensure compliance with regulations set by organizations such as OSHA and NIOSH to maintain a safe working environment for all workers engaged in acrylic cutting.
Troubleshooting
Cutting acrylic sheets can sometimes present challenges, but understanding common issues and their solutions can lead to successful results. This section outlines frequent problems encountered during the cutting process and effective troubleshooting methods.
Common Cutting Issues
Improper Tool Selection
One of the most significant mistakes when cutting acrylic is using inappropriate tools. Many individuals may resort to standard saws or knives that are not designed for acrylic, resulting in chipping and uneven edges. It is essential to use blades specifically designed for plastics, which feature fine teeth and minimal pitch, to achieve clean cuts without damaging the material.
Inaccurate Measurements
Neglecting precise measurements can lead to misaligned cuts, wasting material and requiring additional adjustments. It is crucial to measure twice and mark clearly where cuts are needed, utilizing a straightedge or ruler to ensure accuracy. This practice reduces the risk of errors during the cutting process.
Heat Buildup
Heat buildup is a common issue when cutting acrylic, especially when using power tools. Excessive heat can generate thermal stress and cracks along the cutting path. To mitigate this, it is advisable to adjust the power settings of the cutting tool, starting with lower power levels and moderate speeds. Employing an air assist system can also help by removing excess heat and debris from the cutting area, ensuring a cooler environment and preventing melting or warping along the edges.
Techniques for Success
Adjusting Laser Settings
When using a laser cutter, adjusting the focus depth, power, and speed based on the thickness and type of acrylic is critical. Proper focusing helps achieve smoother cuts without micro-cracks along the edges. Additionally, ensuring that the laser frequency is set correctly can prevent issues during the cutting process.
Pre-Cutting Preparation
Before starting on your main project, it is beneficial to experiment with scrap pieces of acrylic. This practice fosters familiarity with the tools and techniques, allowing for greater confidence and accuracy during the actual cuts.
Post-Processing Care
After cutting, the acrylic material may require post-processing to remove any remaining burrs or imperfections, achieving the desired finish. Utilizing fine grit sandpaper can be effective for smoothing edges and enhancing the overall appearance of the cut acrylic. By addressing these common issues and employing effective troubleshooting technique, individuals can ensure a smoother cutting experience with acrylic sheets, achieving high-quality results in their projects.