Why Acrylic Needs Special Drilling
Acrylic cracks under pressure. It melts under heat. Standard drill bits often grab and tear the plastic. That’s why drilling acrylic takes care.
Acrylic is a thermoplastic. It softens at about 160°C. This means friction builds up quickly while drilling. When that happens, the bit may seize or melt the edges of the hole.
Also, acrylic is brittle. It chips when unsupported. It fractures easily near edges. To avoid problems, you need the right method and tools.
“Acrylic looks tough but handles like glass. Drill it like metal, and it will crack.” — Aaron Lee, Fabrication Supervisor, Custom Acrylic Product Co.
Table of Contents

Tools and Materials You’ll Need
| Tool or Item | Purpose |
|---|---|
| Variable-speed drill | Lets you control heat buildup |
| Plastic-compatible drill bit | Prevents grabbing and splintering |
| Masking tape | Reduces chipping and helps mark the hole |
| Ruler or caliper | Helps with precision placement |
| Clamps | Holds the sheet steady |
| Backing board | Supports the underside to prevent splintering |
| Safety goggles | Protects your eyes |
| Water spray bottle | Keeps the bit cool during drilling |
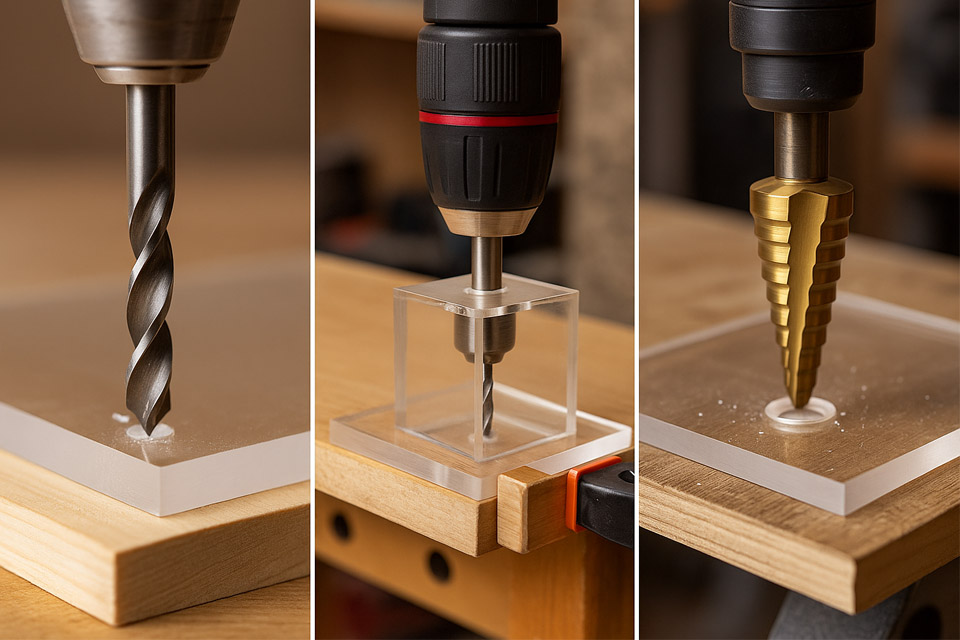
For thick acrylic, use a step drill bit. For thin sheets, brad-point or twist bits made for plastic are best.
Preparing the Acrylic Sheet
Clean and Mark
Wipe the surface with a lint-free cloth. Remove dirt and grease. Use masking tape on the drilling area to avoid chips.
Mark the hole with a fine-tip marker. If you need accuracy, use a ruler or caliper to measure twice before you mark.
Secure the Sheet
Use clamps to hold the acrylic firmly against a sacrificial backing board. MDF or plywood works well. This backing prevents cracks as the bit exits the material.
Make sure your clamps do not block access to the drilling area.
Drilling Process Step-by-Step
Step 1: Make a Guide Dimple
Use a center punch to make a shallow dimple at your mark. This prevents the drill bit from wandering. Tap gently. Too much force can crack thin sheets.
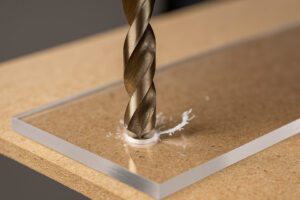
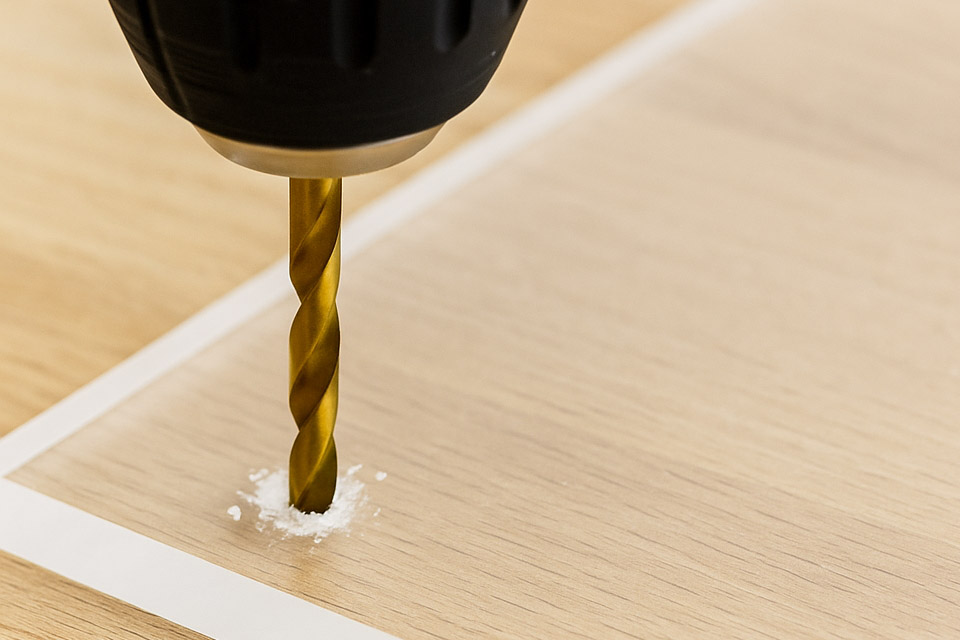
Step 2: Drill Slowly
Use low speed on your drill. Keep the bit perpendicular to the surface. Start with light pressure.
Let the bit do the work. Do not force it.
Mist water on the area every few seconds. This cools the bit and keeps the acrylic from melting.
Step 3: Clear Chips Often
Pause often to remove plastic shavings. These can jam the bit and increase friction.
You can use compressed air or brush off the chips between each pass.
Step 4: Exit Gently
As the bit breaks through the underside, reduce pressure. Let it slide through cleanly. The backing board will catch the exit to avoid splinters.
Common Mistakes and How to Avoid Them
| Mistake | What Happens | How to Fix It |
|---|---|---|
| Drilling too fast | Heat melts acrylic | Use slow speed |
| Using the wrong bit | Cracks and chips | Use plastic-specific bits |
| No support underneath | Splintered exit | Always drill over a backing board |
| No cooling | Melting or fusion | Mist water regularly |
| Forcing the drill | Fractures the sheet | Use steady, light pressure |
“Heat is your enemy. If the drill bit gets hot, stop.” — Mike Sato, Acrylic Engineer, Tokyo FabWorks
Best Practices for Clean Holes
- Use a new or sharp bit. Dull bits cause cracks.
- Drill perpendicular to the surface. Angled holes increase edge stress.
- Use a step bit for large holes.
- Drill a small pilot hole before switching to a larger bit.
- For holes near the edge, use extra caution. The edge is more likely to crack.
After-Drilling Finishing Tips
Clean the Hole
Run your finger along the edge of the hole. If it’s rough, use 400 to 600 grit sandpaper to smooth it.
For precise cleanup, use a deburring tool. It shaves off thin flakes without scratching the surface.
Remove the Tape
Carefully peel the masking tape. Clean the area with water and a soft cloth. Do not use alcohol or solvents unless you test them first.
When to Use a Drill Press
Use a drill press when:
- You need precise hole depth
- You’re drilling many identical pieces
- You want to avoid hand wobble
A drill press holds the bit steady and helps you apply consistent force.
Set the lowest speed. Use the depth stop feature. Always use clamps and backing support.
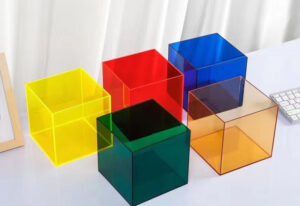
Use Cases in Real Projects
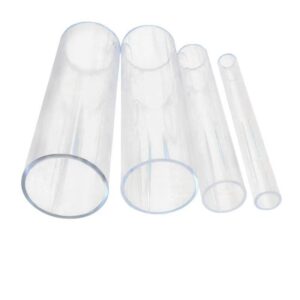
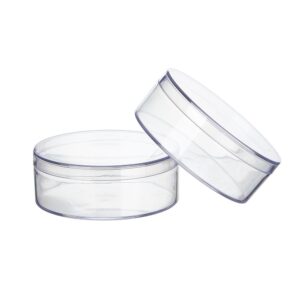
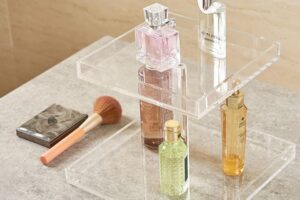
Acrylic is used across many products. Here are some examples that rely on clean drilling:
In each case, holes are needed for handles, mounting hardware, or custom features.
Frequently Asked Questions
What drill bit should I use?
Use a bit made for plastic. Brad-point, step bits, or acrylic-specific twist bits work best.
Can I use a regular drill?
Yes. Just use slow speed and light pressure. Make sure the sheet is supported and stable.
How do I prevent melting?
Mist water over the drill point. Stop often. Clear away shavings. Use slow speed.
What’s the best way to drill thick acrylic?
Drill in stages. Use a pilot hole, then step up the bit size. Cool the bit often. Flip the sheet halfway through if needed.
Should I remove the protective film?
Keep the film on while drilling. It helps avoid scratches. Peel it off afterward.
Can I fix a cracked hole?
Minor cracks can be sanded smooth. Major cracks usually require cutting a new piece.
Conclusion
Drilling acrylic takes patience. You need the right tools, proper support, and the discipline to go slow. But when you follow these steps, you get clean holes every time.
Use a sharp bit. Cool your work area. Clamp everything securely. Apply gentle pressure. Don’t rush.
Once you master this, you can handle any acrylic sheet with confidence.