Summary
Repairing acrylic scratches at home involves employing various techniques and materials to restore the clarity and appearance of acrylic surfaces, commonly known by the brand name Plexiglas. Acrylic is a popular choice for a wide range of applications due to its durability, lightweight properties, and aesthetic appeal. However, despite its inherent scratch resistance, it is susceptible to damage from improper cleaning, environmental factors, and physical impacts, which can detract from its visual quality and functionality.
Table of Contents
The significance of this topic lies in the widespread use of acrylic in everyday items such as windows, display cases, and furniture, where maintaining their pristine condition is essential for both aesthetics and longevity. Homeowners and DIY enthusiasts often seek effective, cost-efficient methods to address scratches without resorting to professional repair services. This has led to the emergence of various home remedies and techniques, ranging from mild abrasives like baking soda and toothpaste to more advanced methods involving wet sanding and acrylic polish.
Controversies surrounding acrylic repair primarily focus on the effectiveness and safety of various methods. Some DIY approaches may inadvertently cause further damage if improper techniques or materials are used, leading to discussions among enthusiasts about the best practices for scratch repair. Moreover, the use of harsh chemicals or abrasive tools can compromise the integrity of the acrylic, prompting debates over safe and effective cleaning and maintenance practices.
In summary, understanding how to repair acrylic scratches at home not only enhances the appearance of acrylic surfaces but also extends their lifespan. This guide aims to provide comprehensive information on the causes of scratches, appropriate tools and materials for repair, and step-by-step methods for addressing different types of damage, while also highlighting safety precautions and maintenance tips to ensure optimal care of acrylic products.
Causes of Acrylic Scratches
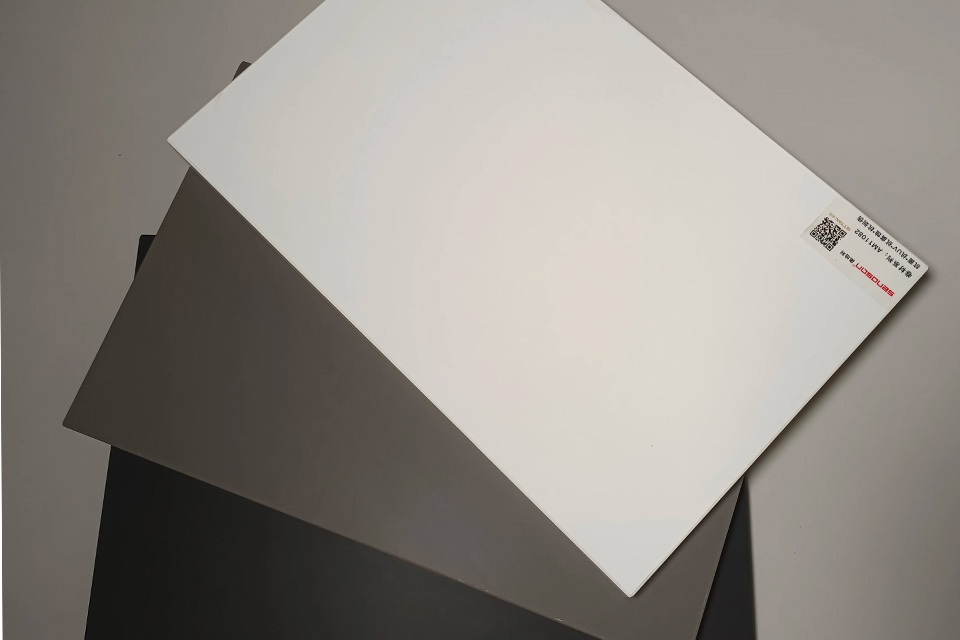
Acrylic, commonly known by the brand name Plexiglas, is valued for its strength and scratch resistance. However, despite its durability, scratches can still occur due to various factors. Understanding the causes of these scratches is crucial for effective maintenance and repair.
Improper Cleaning Techniques
One of the most common causes of scratches on acrylic surfaces is the use of improper cleaning techniques. Harsh chemicals, including ammonia-based cleaners, can damage the acrylic, leading to cloudiness and scratches. Additionally, using rough or abrasive cleaning materials instead of soft microfiber cloths can inadvertently cause surface scuffs and deeper scratches. To prevent this, it is essential to use mild soap and lint-free cloths for cleaning.
Environmental Factors
Environmental elements also play a significant role in the scratching of acrylic materials. Exposure to UV rays can degrade the surface over time, making it more susceptible to scratches and crazing, which is the formation of fine cracks. Moreover, dust and debris can accumulate on the surface, and when rubbed against it, can cause scratches.
Accidental Impact
Physical impact is another significant contributor to scratches. Acrylic sheets can become scratched if items are dropped onto them or if they are used in high-traffic areas where contact is more likely. Careless handling and transportation of acrylic sheets can also result in scratches and chips if proper padding and supports are not used.
Use of Inappropriate Tools
Using improper tools for maintenance can exacerbate the problem. For instance, employing abrasive materials that are too coarse for the level of damage can lead to further scratching instead of repairing. It is vital to select the correct grit sandpaper or polishing compounds that match the severity of the scratches to avoid additional harm to the surface.
By identifying and understanding these causes, users can take preventive measures to minimize scratches on acrylic surfaces, ensuring their longevity and clarity.
Tools and Materials for Repair
To effectively repair scratches on acrylic surfaces, it is essential to gather the right tools and materials.
Basic Cleaning Supplies
Before attempting any scratch repair, it is crucial to clean the scratched area to remove dirt and debris.
- Mild Soap: Use a few drops mixed with water to create a soapy solution for cleaning the acrylic surface.
- Soft Cloths: Lint-free microfiber cloths are ideal for gentle cleaning without causing further scratches.
- Water: Clean water for rinsing the area after washing.
Scratch Repair Materials
Depending on the depth of the scratches, various repair materials can be employed:
- Baking Soda: A safe and mild abrasive that can be mixed with water to form a paste for light scratches. The paste is applied gently with a soft cloth in a circular motion.
- Non-Gel Toothpaste: A common household item that acts as a mild abrasive to smooth out scratches when rubbed on the area with a damp cloth.
- Candle Wax: For light scratches on less frequently used surfaces, plain white candle wax can be rubbed over the scratch to fill it in.
- Acrylic Polish: Commercial products like Novus No. 1 polish are specifically designed to eliminate fine scratches and improve the optical clarity of acrylic surfaces.
- Fine Sandpaper: For deeper scratches, fine sandpaper (400 grit or similar) may be used cautiously before polishing to restore the surface.
Advanced Tools
For professional-level repairs, specialized tools and techniques may be necessary:
- Flame Polishing Equipment: This method involves using a high-temperature flame to melt and smooth out deep scratches. It is recommended only for professionals due to the equipment and skill required.
- Buffing Machine: A buffing machine can be used in conjunction with polishing compounds for more efficient scratch removal on larger surfaces.
Safety Considerations
While repairing scratches, it is essential to avoid using harsh chemicals such as acetone, glass cleaners, or other solvents that can damage the acrylic surface. Always apply gentle pressure when polishing to prevent additional scratches or distortions during the repair process.
Step-by-Step Repair Methods
Repairing scratches on acrylic surfaces can be accomplished using various techniques, depending on the depth and severity of the scratches. This section outlines a series of effective methods ranging from simple DIY fixes to more advanced approaches.
Assessing the Damage
Before attempting any repairs, it is crucial to clean the acrylic surface using mild soap and water along with a soft microfiber cloth to remove any dust and debris. Avoid harsh chemicals or ammonia-based cleaners, as these can further damage the acrylic surface. Once clean, evaluate the scratches to categorize them into light, moderate, or deep.
Repairing Light Scratches
Baking Soda Paste
For light surface scratches, a baking soda paste can be an effective and safe remedy. Mix a small amount of baking soda with water to form a thick paste. Apply it to the scratched area and gently rub with a soft cloth in a circular motion. The mild abrasive nature of baking soda helps to smooth out the scratch. After application, rinse the area with water and dry it with a soft cloth.
Non-Gel Toothpaste
Another household option is non-gel toothpaste, which acts as a mild abrasive. Squeeze a small amount directly onto the scratch and rub gently with a clean, damp cloth. Rinse with water to check the results, and repeat if necessary until the scratch diminishes.
Candle Wax
For minor scratches, plain white candle wax can be a surprising yet effective solution. Rub the wax over the scratched area in a circular motion, allowing it to fill in the scratch, making it less noticeable.
Repairing Moderate to Deep Scratches
Abrasive Acrylic Polish
For moderate scratches, an abrasive acrylic polish can be utilized. Apply a small amount of polish to a soft, lint-free cloth and buff it onto the scratched area in circular motions. The friction generated by this process helps restore clarity to the acrylic surface.
Wet Sanding Technique
For deeper scratches, wet sanding is recommended. Start with a coarse grit sandpaper (around 400 grit) to remove the majority of the scratch, then progress to finer grits (up to 1500 grit) for a smoother finish. Keep the surface wet throughout to reduce friction and heat buildup, which can further damage the acrylic.
Professional Assistance
If the damage is extensive, seeking professional help is advisable. Professionals can employ advanced techniques like flame polishing, which effectively removes deep scratches and restores clarity, although it requires specialized equipment.
Final Touches
After sanding or polishing, inspect the surface for any remaining scratches. If necessary, repeat the polishing process with a fine polishing compound. Finish with a coat of plastic cleaner or protectant to add shine and prevent future scratches.

Tips for Successful Repair
Preparation and Tools
Before starting the repair process, it’s crucial to prepare adequately and gather the right tools. Begin with a tire repair kit, which can be useful for various initial tasks. Additionally, incorporate microfiber cloths to clean the acrylic surface without causing further damage; these cloths are gentle and won’t scratch the material. Always clean the acrylic with mild soap and lint-free cloths to prevent introducing new scratches during the repair process.
Assessing the Damage
Understanding the severity of the scratches is essential for determining the appropriate repair method. For light surface scratches, mild cleaners and polishes can be effective, while moderate scratches may require the application of abrasive acrylic polish. Deep scratches, however, may necessitate professional assistance or even replacement of the acrylic if the damage is beyond repair. It’s advisable to evaluate whether glass or acrylic suits your needs based on factors like appearance, cost, and maintenance.
Repair Techniques
For scratches, a systematic approach can yield the best results. Start with 400 grit sandpaper and use even pressure to sand down the scratches until they are no longer visible. Gradually move to finer grits, such as 1000, 1500, and finally 2000, ensuring the area remains clean and well-lubricated during sanding. This method is particularly effective for removing imperfections while maintaining the clarity of the acrylic surface. Always test the sanding technique on a small area first to ensure compatibility with your specific material.
Final Touches
After sanding, buff the area gently with a clean microfiber cloth to achieve an even finish. For additional clarity and protection, consider using Novus No. 1 as a final polishing step. This will help restore the acrylic’s original shine and ensure long-lasting results. Remember, proper maintenance and timely repairs can significantly prolong the lifespan of your acrylic surfaces, so addressing scratches promptly is essential for preserving their clarity and aesthetic appeal.
Safety Precautions
When repairing acrylic scratches at home, it is crucial to adhere to specific safety precautions to ensure a safe and effective process. Although acrylic plastic is generally non-toxic at room temperature, it can emit harmful vapors, dust, and fumes when heated or manipulated, particularly during engraving or cutting.
Personal Protective Equipment (PPE)
Wearing the appropriate personal protective equipment (PPE) is essential. This includes safety goggles to shield your eyes from dust and debris, gloves to protect your hands from cuts and abrasions, and a mask to prevent inhalation of fine acrylic particles and toxic gases. For added protection, a face shield can be worn over goggles and a mask.
Work Area Safety
Maintaining a clean and clutter-free workspace is vital for safety. By keeping your work area organized and free of debris, you can reduce tripping hazards and the risk of accidents. It is also advisable to monitor the temperature during any heating processes to avoid overheating acrylic, which can lead to the release of harmful vapors.
Proper Disposal and Environmental Considerations
Proper disposal of acrylic waste is critical for environmental safety. Scraps, offcuts, and unused materials should be disposed of in accordance with local regulations, and recycling options should be considered whenever possible to minimize environmental impact.
By following these safety precautions, individuals can effectively manage the risks associated with repairing acrylic scratches and enjoy the benefits of this versatile material.
Maintenance and Care
Maintaining and caring for acrylic surfaces is crucial to preserving their appearance and structural integrity. Acrylic, widely used for its clarity and durability, requires regular upkeep to prevent and manage scratches effectively.
General Care Guidelines
Ventilation During Maintenance
When working with acrylic, it is essential to ensure that the workspace is well-ventilated. This prevents the buildup of fumes and dust generated from cutting, sanding, or heating the material. A ventilated area allows for better airflow, enhancing safety during maintenance activities.
Safe Handling and Transport
Despite its durability, acrylic can still be fragile. It is vital to handle sheets and pieces with care to avoid chipping, cracking, or breaking. When transporting acrylic, proper supports and padding should be utilized to prevent damage.
Tool and Surface Preparation
Before starting any repair process, ensure that all tools and surfaces are clean. Use mild soap or a specialized acrylic cleaner like Novus No. 1 to remove dirt and debris, as this helps prevent additional scratching during repairs. Always employ lint-free cloths to avoid further surface damage.
Scratch Removal Techniques
Identifying Scratch Severity
The first step in addressing scratches is to assess their depth. Light scratches can often be treated with mild cleaners, while moderate scratches may require abrasive polishes. Deep scratches might necessitate wet sanding or even professional intervention.
Cleaning Before Repair
Before attempting any scratch removal, the affected area must be cleaned thoroughly. Use a soft cloth dampened with a soapy solution, and then rinse and dry the surface completely. This step is crucial to prevent grinding dirt into the acrylic during the polishing process.
Methods for Scratch Treatment
- Light Surface Scratches: Often resolved with regular cleaning and mild cleaners.
- Moderate Scratches: Can be treated using abrasive polishes, such as Novus No. 2, and microfiber cloths to buff the surface gently.
- Deep Scratches: These may require advanced techniques, including wet sanding and the application of specific acrylic scratch removers.
Polishing and Finishing Touches
After treating the scratches, applying a product like Novus No. 1 polish can enhance clarity and protect the surface. Gently buff the area with a clean cloth to restore the original shine and finish.
Environmental Considerations
Proper disposal of acrylic waste is essential for environmental safety. Scraps and offcuts should be disposed of according to local regulations, and recycling should be considered whenever possible to minimize environmental impact.
Preventive Measures
To minimize future scratches, use microfiber or soft cotton cloths for cleaning, avoiding paper towels which can scratch the surface. Regular application of a plastic cleaner or protectant can help preserve the acrylic finish and keep it looking new longer. Additionally, keeping acrylic objects away from abrasive surfaces is advisable to prevent unintentional damage.